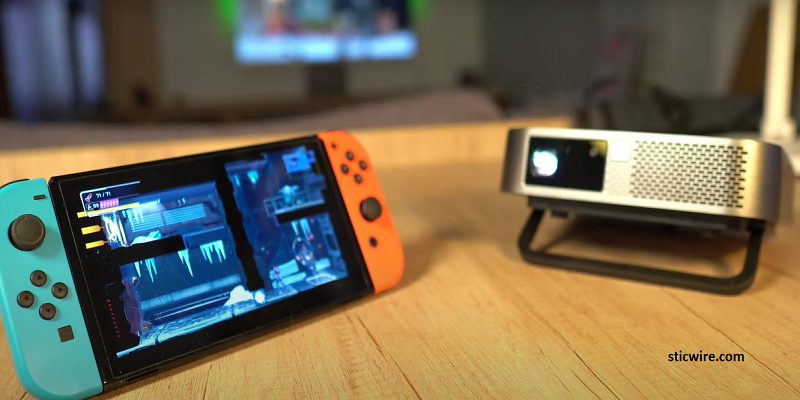
Today, digital projectors have become even more compatible with a vast variety of devices such as laptops, computers, gaming consoles, and even smartphones. This compatibility has played a vital role in the mass adoption of these projectors to be used for various purposes.
How to hook up Nintendo Switch to a projector?

When we talk about the top gaming consoles, it is impossible to not think about Nintendo Switch. The most impressive thing about Nintendo Switch is its hybrid nature that is a blend of home gaming console and portable gaming.
Regardless of the console, you use for gaming, every gamer loves playing on a bigger and better screen. With the availability of different projectors in the market that too, with amazing compatibility options, you can easily hook up your Nintendo Switch to a bigger screen via projector.
As a gamer, this might be your biggest fantasy to enjoy Nintendo Switch on a bigger screen and here we have brought a detailed guide to you. If you are excited to know how you can link the two devices together, make sure to read the article till the end.
History of Nintendo Switch
Manufactured by Nintendo, a gaming company that traces back to 1889 when the first-ever product by the Japanese country ‘hanafuda’ was invented. Over the years, the company went through a lot of thick and thins and finally reached the place where it is now and is still growing.
Nintendo is considered as one of the top manufacturers of gaming consoles loaded with impeccable features along with quality and performance that is absolutely unmatched. If we talk about the Nintendo Switch, it was rolled out back on March 3, 2017, and is still being manufactured by the company with frequent updates.
The Nintendo Switch is basically a 6.2-inch tablet featuring two detachable joy-con controllers along with comfortable grips. This device gained immense popularity and was widely opted for by serious gamers as well as the general public.
Before Switch, the company launched the Wii-U which failed to attract buyers due to various reasons and hence proved to be a massive failure. The main reason that kept the device from being loved was the limited motion control features which made it unsuitable for different types of gamers.
But, when it comes to the Nintendo Switch, there are several impressive features to cherish that also took the device to new heights of success. For example, the availability of every original Nintendo’s title as well as third-party games on the device. The third-party games including Super Mario Odysseys, Breath of the Wild, and Dark Soul Remastered are a very few of a wide range of these titles.
In addition to this, what enhances Switch’s value is its region-free feature which is also something not found on any other platform. Wondering what region-free feature means? Simply put, it allows you to browse every game that you have purchased regardless of the location and play it whenever and wherever you want.
When the Switch is hooked up to a projector, you will get a gorgeous 1080p output and ensure a seamless transition from one device to another so that you don’t lose even a bit of your gaming progress. When you switch the game back to the Switch from the projector, it will continue exactly from where you left it.
How to hook up Nintendo Switch to projector – 2 simple ways
The Nintendo Switch comes with a variety of attachments including an HDMI cable, TV dock, and a charger. But, all you need to hook up your Switch to a projector is an HDMI cable and a TV dock.
Since there are several types of projectors available, the procedure depends on the type of projector you have. If your digital projector features an HDMI, there would be no complications in setting it up with your Switch. However, if your projector lacks an HDMI port, there might be some issues.
Also Recommended: How To Connect Phone To Projector Using USB
But, no need to stress since we have solutions for you regardless of the type of projector you have. So, without any further ado, let’s find out.
1. Via HDMI Port
The simple steps to connect your Switch to a projector are mentioned below:
- Remove the rear cover of the dock on your Nintendo Switch. The docking station of the device is responsible for connecting it to a monitor, TV, or projector.
- Now, from the AC adapter on your Switch, connect the USB plug to the top terminal on the top of the dock where you see ‘AC ADAPTER’ labeled.
- Take the opposite end of the adapter and plug it into the socket.
- Grab an HDMI cable and plug it to the bottom-most port of the dock, right where you will see a label ‘HDMI OUT’.
- Now take the free end of the HDMI cable and plug it into the projector.
- Close the back cover of the dock on your Switch and carefully insert the console in the port.
- Turn on the projector and enjoy your gaming.
2. Without HDMI Port
Can’t find an HDMI port on your projector? No worries, we have got you covered. This simple solution will help you enjoy your Nintendo Switch games on a bigger screen without an HDMI port.
When a projector lacks an HDMI port, it is usually because the model is pretty old. To connect your Switch to it, all you need is a converter or adapter. This converter must be either HDMI to a component converter or adapter and make sure that it is compatible with the model of projector that you have.
Also Recommended: Why Is My Projector Not Displaying?
Once you have got your hands on it, the next steps are exactly the same as with a projector integrated with an HDMI port.
Final Words
- How To Clean a Projector Lens - December 1, 2022
- How to make a projector screen with a sheet? - November 11, 2022
- What can I use as a Projector Screen - November 10, 2022
