Got your hands on a projector but don’t have a projector screen? There is nothing to worry about because you can make a projector screen with something as common as a plain sheet. Even though you can also build a projector screen yourself via DIY procedure but it would take time. Therefore, using a clean and plain sheet would be the most convenient and clever option.
How to make a projector screen with a sheet
With the advancement in technology, you can now easily find a large enough TV for your living room that would be enough for a room full of spectators. But, what if you arranged a party and your friends want to have a movie night in your backyard?
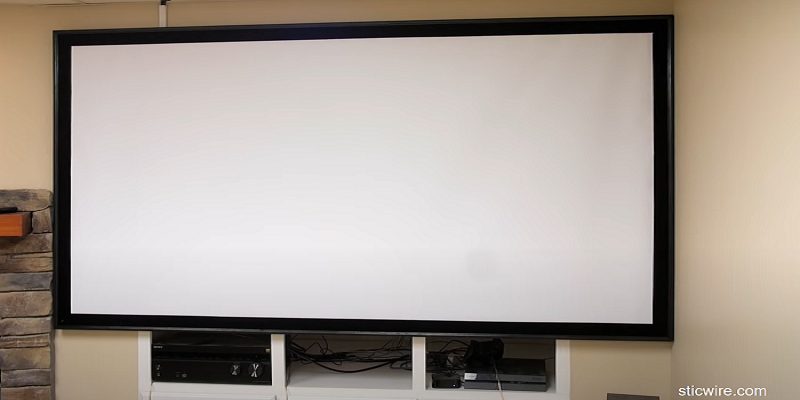
This is where a projector would come into action. But, for that, you need to have an appropriate screen as well. Since most of the projection quality depends on the screen, it is important to choose a good one.
Also Recommended : What can i use a projector screen?
As mentioned earlier, using your plain bed sheet would be the simplest way of making an instant projector screen. If you would have your projector screen made, you would only need to hang it to the desired place and enjoy the night.
To figure out the most intelligent way to turn your sheet into a projector screen, we urge you to give this article a thorough read.
Requirements for projector screen
In order to create a home projector screen, you need to gather a couple of essential things. Don’t worry, all of the required items are easily available in every house. These essentials are listed as follows:
- Plain white sheet
- Empty wall
- Screws or hooks
- Hammer
- Eyelets
- PVC pipes
Once you have grabbed all the items required, follow the super-easy steps mentioned below with due care.
Step 1:
First of all, you must determine how big you want the sheet to be in order to display the full image on it. Generally, the best size and an average one used for projectors measures about 5 x 6 feet. Depending on the size of the wall you have and the aspect ratio you will adjust, you can cut your sheet accordingly.
Make sure you measure the dimensions carefully so that the visuals don’t extend out of the sheet and are displayed perfectly.
Step 2:
After measuring, mark the dimensions using a pen or fabric chalk. It is suggested to leave a few extra inches on each size in case any human error occurs during the measurements. You can either cut the extra pieces or sew them backwards to get the desired size of the projector sheet.
Step 3:
Once you have sewed or cut the sheet, add eyelets on all four sides of it. These eyelets would not only help in hanging the sheet easily but will also save the sheet from the possible tears that can occur due to the ropes. You can add eyelets to any pattern you want.
Step 4:
In this step, you need to add the PVC pipes to the sheet so that it stays flat and free of wrinkles. So, take the pipes, put them along the edges, and cut right according to the desired size.
The installation of these PVC pipes into the sheet is also pretty simple. All you need to do is take one pipe at a time and place it at the bottom of the sheet, a few inches above the end. Now fold the bottom in a way that it covers the pipe and make a crease on the sheet. Mark the line where the end of the sheet was when folded, remove the pipe, and sew it up. Now you will get a loop made where you can easily slide in the PVC pipe. Don’t forget to close the edges after sliding the pipe in.
Step 5:
Take some hooks and use a hammer to hang them into the ceiling where you would like to make your projector screen. Finally, insert the eyelets on the hooks and there you have your very own DIY projector screen, flat and clean with no wrinkles.
You can place it in any room you want or roll it up to store at a safer place when not in use. It is recommended to roll your screen and wrap it in a cloth or plastic sheet so that it is prevented from being dusty and dirty.
Some important things to remember
Before you start making and using your very own homemade projector screen, make sure you understand the following things:
- Use white-colored sheet only
- Make sure to use the right size of the sheet. The too small or too big sheet can cause difficulties in hanging.
- Always iron the sheet before hanging it so that all the wrinkles go away.
The best material to use for making a projector screen
The material of the sheet also makes a huge difference to the quality of the image produced on it. Therefore, make sure to go for the right material so that all your efforts don’t go in vain. When using a sheet to make a screen, the best material to use is a blackout cloth. What makes us recommend this material is its durability and amazing ability to prevent folding.
If you have a really tight budget, a Tyvek or an outdoor fabric would also do the job. Some other materials that can be used to make a projector screen include sheets of trapeze or spandex.
Note: Regardless of the material you choose, make sure to look for these important factors; smoothness, color, and stretching ability.
Final thoughts
What impresses most about a homemade projector screen is that it is not only suitable indoors but outdoors as well. Moreover, it’s a one-time effort and can be rolled up for the next use.

- How To Clean a Projector Lens - December 1, 2022
- How to make a projector screen with a sheet? - November 11, 2022
- What can I use as a Projector Screen - November 10, 2022